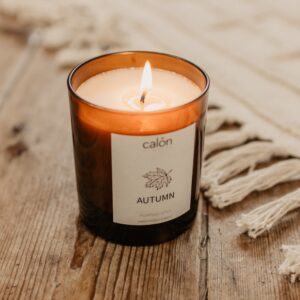
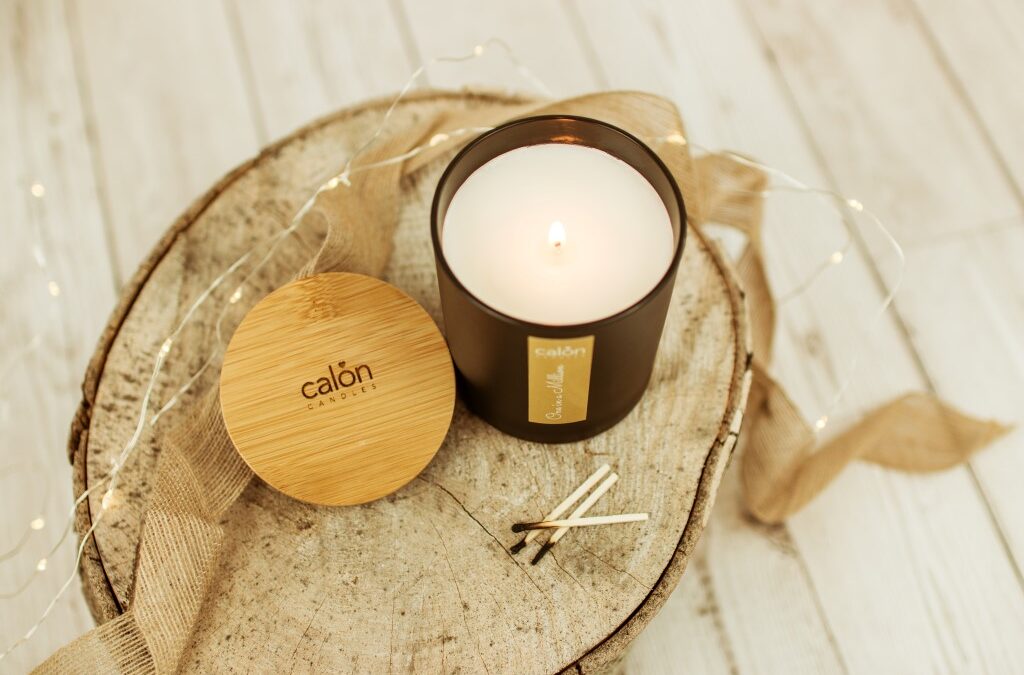
Whether you bought your candles from Calon Home or elsewhere, there are certain things you can do to ensure you get the most out of your purchase and ensure it lasts for the full burn time. I’ve put together a summary of the best way to do this.
1. Aim for a full melt pool on every burn:
 When burning your candle for the first time, ensure you burn the candle for up to four hours so, (as much as possible) the entire upper layer of wax melts all the way to the edges of the candle glass. Whilst this is important on every burn, it is especially important that very first time so that you don’t end up with what is known as “tunnelling” in the candle-making world, when too much wax is left unmelted around the outside of the glass. This wastes wax and gives less scent throw.
A little bit of “hang-up” in the first few burns is ok however. Hang-up is essentially 1-2mm of unmelted wax around the perimeter of the glass which will usually clear by the mid-point as it melts back into the candle. This is because your candle will most likely burn hotter as it nears the bottom of the glass.
Having a full melt pool means an even burn for the life of the candle. Whilst it sounds counter-intuitive, if you want your candles to burn longer, you need to burn them longer (up to three or four hours at a time). If you burn for longer than this, it can have the opposite effect as the flame can get too large meaning a hotter jar and the candle will be “used up” too quickly.
2. Remember to trim your wick before each and every burn:
If you don’t do this, the candle wick can become too large with what is knows as a wick “mushroom”, which is a build up of carbon at the tip. This often leads to a large flame, increased sooting and a dancing flame which can not only cause an uneven burn but can also spoils the look of your beautiful matt white candle jars with flecks of soot. I recommend trimming the wick before the next burn when the candle wax has cooled down and re-solidified. Trim the wicks back to around 5mm with scissors, nail clippers or a wick trimmer.
 3. Burn your candle out of draughts:
Burning your candle in a draught will mean that it is unlikely to burn evenly. You can avoid draughts by placing your lit candle somewhere where it can be burned evenly and undisturbed – away from open or draughty windows for example.
4. Allow your candle to cool completely before relighting:
This will ensure the wax melt pool has properly re-solidified giving an even burn when it next re-melts and last longer.
5. Re-use the last few cms of wax as wax melts:
The sustainers which I use to hold the wicks in place are specifically designed so that the candle will extinguish itself for safety reasons. This ensures the glass will not shatter with excessive heat at the bottom of the glass when there is limited wax to burn. This leftover few cms to wax still has a great scent and the last thing you want is for this to be wasted. The great news is that you can every last little bit of fragrance be using the wax as a wax melt! Rather than attacking the bottom of the container with a spoon or similar, the best way is to fill the candle glass to the brim with freshly boiled water from the kettle. This will allow the wax to melt fully. All you need to do now is set aside and allow to cool. The result is a a disc of scented wax that can be popped out, dried, and then used in a
tealight burner or electric wax warmer. Perfect!
 When burning your candle for the first time, ensure you burn the candle for up to four hours so, (as much as possible) the entire upper layer of wax melts all the way to the edges of the candle glass. Whilst this is important on every burn, it is especially important that very first time so that you don’t end up with what is known as “tunnelling” in the candle-making world, when too much wax is left unmelted around the outside of the glass. This wastes wax and gives less scent throw.


